How To Invert NEC Projector? In %currentdate%
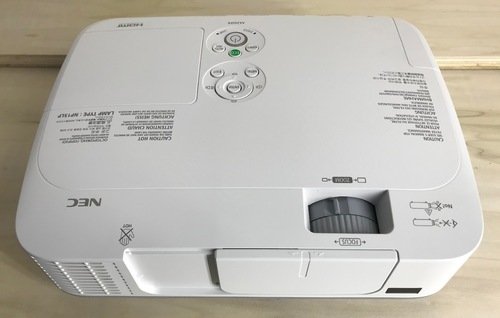
Inverting your NEC projector is a simple process that can be done in just a few steps. First, locate the screws that hold the projector in place.
These are usually located on the side or back of the projector. Next, remove the screws and carefully turn the projector upside down.
Once the projector is upside down, replace the screws and tighten them securely. That’s it! You’ve now successfully inverted your NEC projector.

How to invert nec projector?
In order to invert your nec projector, you will need to go into the projectors on-screen menu and select the Setup option.
Once you are in the Setup menu, you will need to select the Installation or Installation 1 option in the sub-menu.
Within the Installation menu, you will need to select the Orientation option. Once you have selected the Orientation option, you will be able to choose the option to invert your projector.
How should memory devices for NEC projectors be formatted?
NEC projectors generally support two types of file system for formatting memory devices – FAT16 and FAT. FAT16 is the older file system and is generally supported by all NEC projectors. FAT is the newer file system and is generally only supported by newer NEC projector models.
Both file systems have their own advantages and disadvantages. FAT16 is a very simple file system and is easy to use. It is also very reliable and is less likely to corrupt data. However, it has a limited capacity and can only support up to 2GB of data.
FAT is a more complex file system that is more difficult to use. However, it has a much higher capacity and can support up to 32GB of data.
What other useful functions do NEC projectors have?
NEC projectors have a number of other useful functions in addition to projecting images. They can be used to communicate with other projectors and PCs on the same network, making it possible to hold virtual meetings.
This is a valuable function for businesses and organizations who need to hold meetings but may not be able to do so in person.
The projector also supports audio, making it possible to hold conference calls or webinars. This is a valuable function for businesses and organizations who need to communicate with a large number of people at once.
What type of screen is recommended for NEC projectors?
There are a few factors to consider when choosing a screen for your NEC projector. The size of the room, the amount of ambient light, and the specific installation will all affect which type of screen is best for you.
In general, we recommend contacting your installer or a screen vendor for specific recommendations. However, there are a few general guidelines that can help you choose the right screen for your needs. First, consider the size of the room.
If you have a large room, you’ll need a screen that can project a large image. Conversely, if you have a small room, you’ll need a screen that can project a smaller image. The size of the room will also affect the amount of ambient light.
How To Rotate Your NEC Projector Display?
There are a few easy steps to follow in order to rotate your NEC projector display. First, you’ll need to access the projector’s on-screen menu by pressing the Menu button on the projector itself. Once you’re in the menu, select the Setup option.
Under Setup, you’ll see a sub-menu with the options Installation and Installation Within the Installation menu, select Orientation. From there, you can choose the desired rotation for your display. Remember to press the Enter button on the projector to confirm your selection.
How do you fix a NEC projector upside down?
In order to fix a NEC projector that is upside down, you will need to select the Orientation option within the installation process.
Once you have selected the Orientation option, you will need to select the box that says Desktop Front.
Once you have selected the Desktop Front option, you will need to press enter and change the option to either Ceiling Front or Ceiling Rear.
How do I connect my HP NEC projector to my laptop?
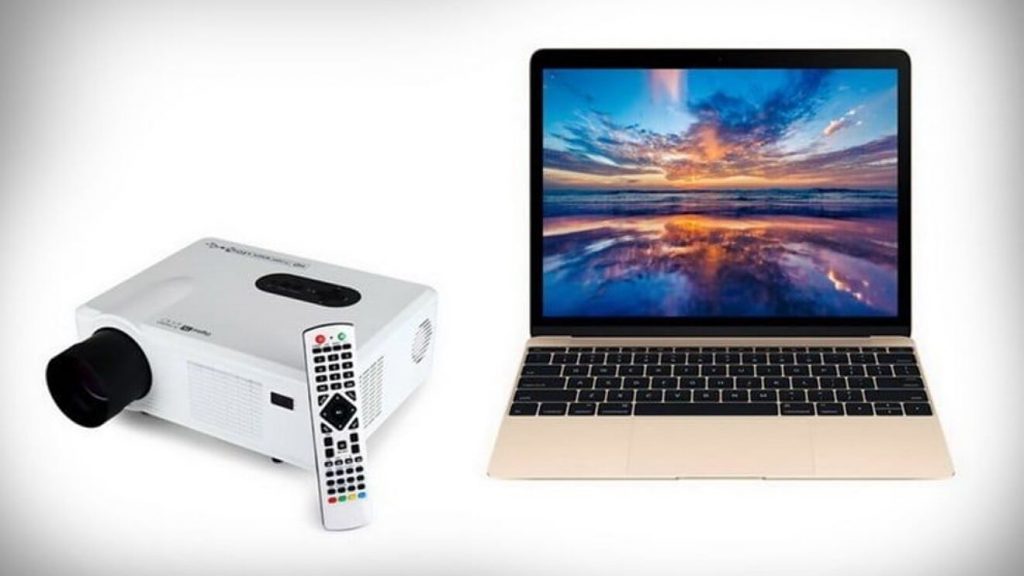
To connect your HP NEC projector to your laptop, you will need to first turn on the laptop. Once the laptop is on, you will then need to plug an HDMI cable, adapter, or VGA cable into the laptop.
Once the cable is plugged into the laptop, you will then need to plug the other end of the cable into the projector.
Once the cable is plugged into the projector, you will then need to turn on the projector. Once the projector is on, you will then need to remove the projector cap, and open the projector lens.
How do I project my laptop to my projector with HDMI?
There are a few different ways that you can connect your laptop to a projector with HDMI. The most common way is to simply connect the HDMI cable to the laptop’s HDMI port and connect the other end to the projector.
This will allow you to send the video and audio signal from your laptop to the projector. Another way is to use an HDMI to DVI adapter.
This will allow you to connect your laptop to the projector using a DVI cable. This is a great option if you are using an older projector that does not have an HDMI input.
Conclusion
Inverting your NEC projector is a relatively simple process that can be done in just a few minutes. By following the steps outlined in this article, you’ll be able to quickly and easily invert your projector so that you can enjoy your favorite movies, TV shows, and video games in the comfort of your own home.